
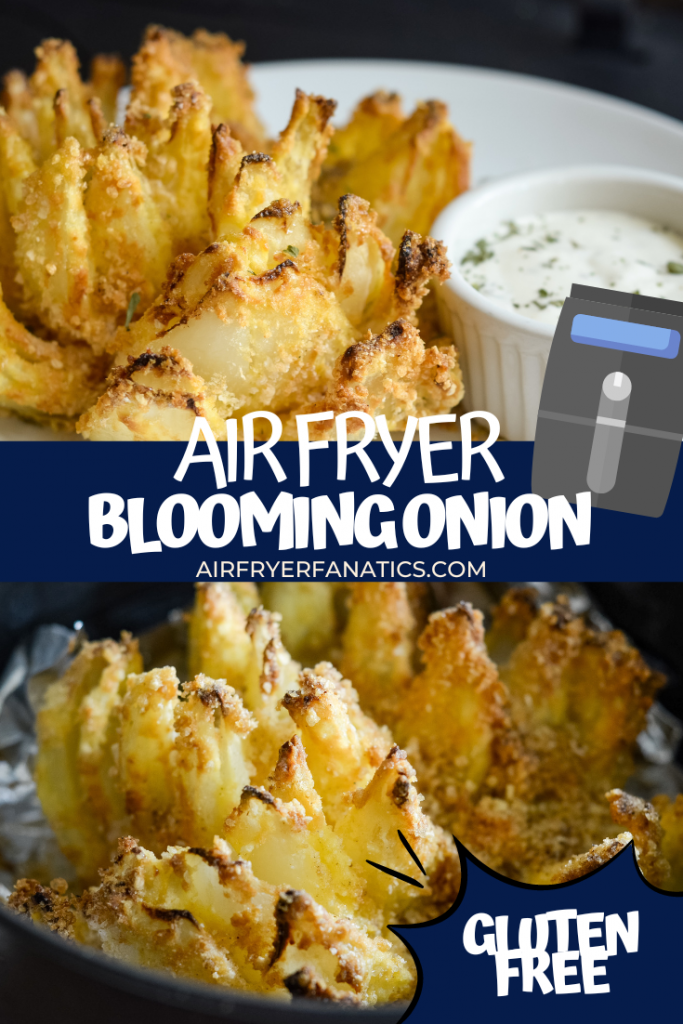
It’s time to put your air fryer skills to the test and learn how to make an air fried blooming onion. This happens to be easy to adapt to gluten-free too!
As soon as I whipped up these Gluten-Free Air Fryer Onion Rings, I knew the next recipe on my list would soon be an Air Fried Blooming Onion.
Have you ever had a blooming onion before? I watch with envy at the fair as my husband devours one. The sad part for me is since I’m gluten-free, I have to avoid that blooming onion.
Now that I know how to make one at home, life is just so much better. Can you imagine? Maybe that’s dramatic but I am telling you this air-fried blooming onion was gone in less than 5 minutes.
Not sure about an Air Fryer? Check out this post on Everything You Need to Know about An Air Fryer too!
There are plenty of tips though to go around with this air fryer recipe. When making an air-fried blooming onion, it’s simple but it does take a little bit of adapting to get the feel for what works best for you.
How to make an Air Fried Blooming Onion
I have seen many recipes on how to make blooming onions and each one is just a little bit different technique. It’s honestly going to come down to your personal preference. I am going to share mine with you, the key I found was a good soak in buttermilk, plus a nice brush.
First, let’s start with cutting the onion.
Before you begin to cut it, peel it first. I found the best way to cut this was to cut one end flat and the other end that has that root to it, just trim that off and keep it still intact.
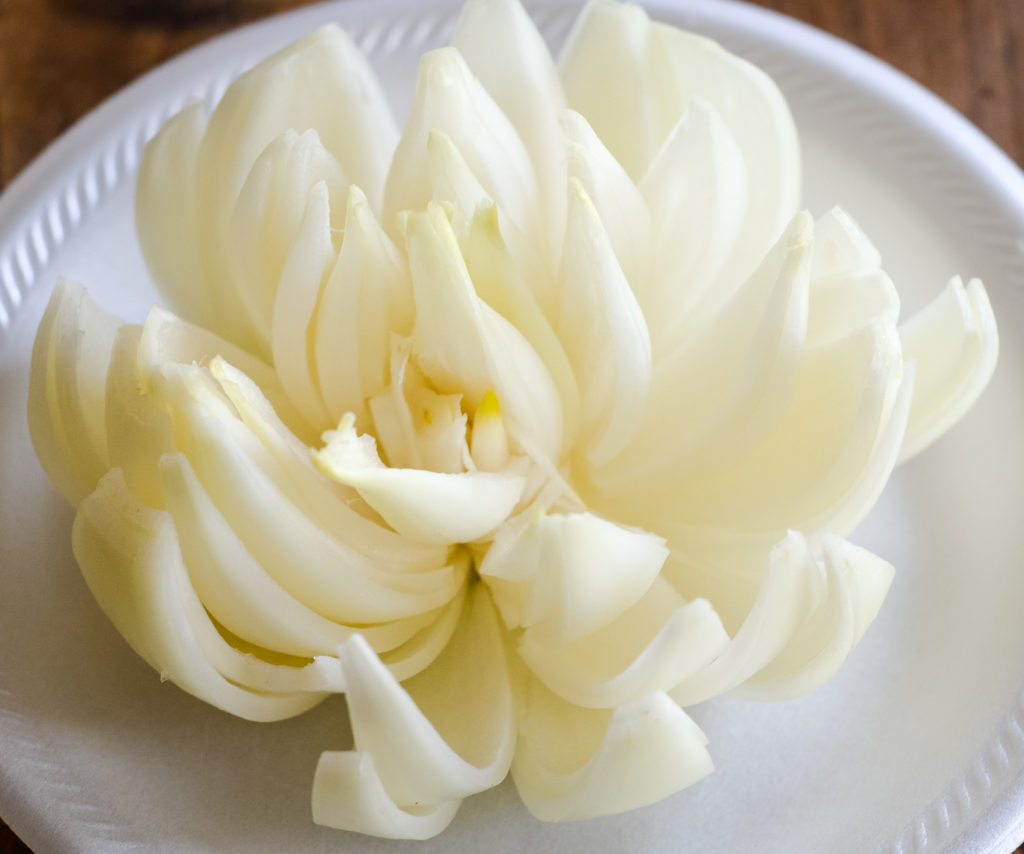
Once you have that down, you want to slightly cut down from the root to the end that is flat to make the petals. Once you have it cut, slowly peel back the onion.
It’s important to get the onion separated but also still keep the bottom together, slow and steady.
Once you have it fully opened, place it in a shallow bowl and cover it with buttermilk. If the buttermilk doesn’t fully soak it all the way, flip the onion over after an hour of soaking to soak the other side.
After soaking, let the excess drip off and coat the onion with flour. I use 1 cup of flour and dip the onion in it. Then, add more if needed, make sure it’s fully coated. If needed, remember to use gluten-free all-purpose flour.
It’s time to coat them with eggs. I found it was best to do this with a good basting brush because it was easy to get into all the layers of the onion. Remember it doesn’t all have to be perfect but lightly coated.
Once that is done, I went ahead and put the onion in the air fryer on a sheet of foil.
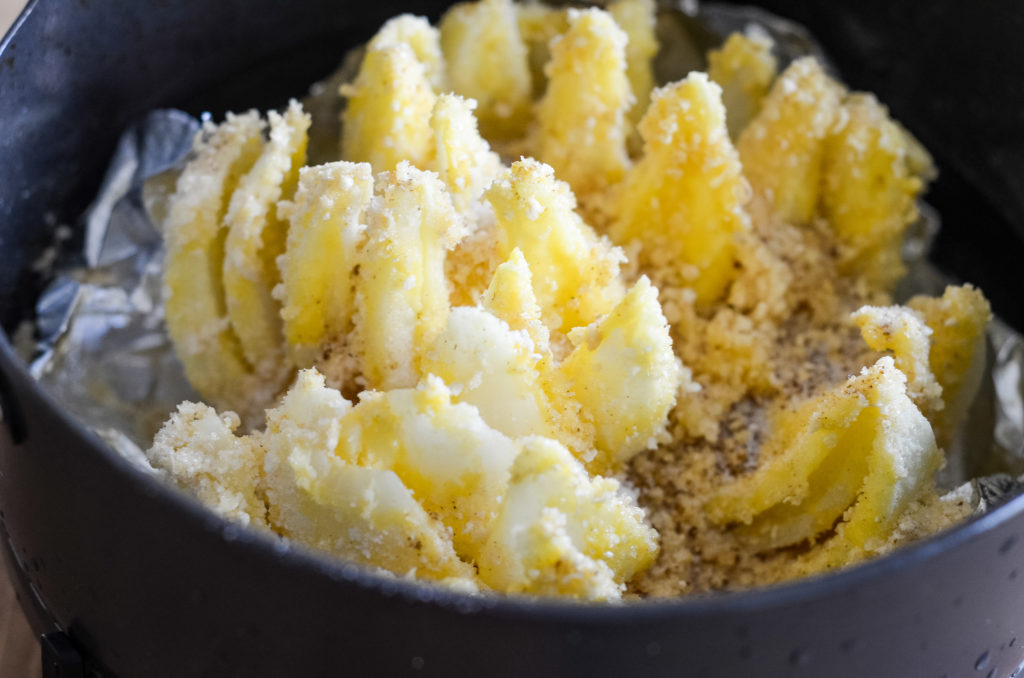
After that, add in the breadcrumb mixture. This can be sprinkled onto the onion or you can dip the onion in the mixture.
The last step is to evenly coat the onion with a dash of salt to taste and cajun seasoning.
It gives it a burst of flavor.
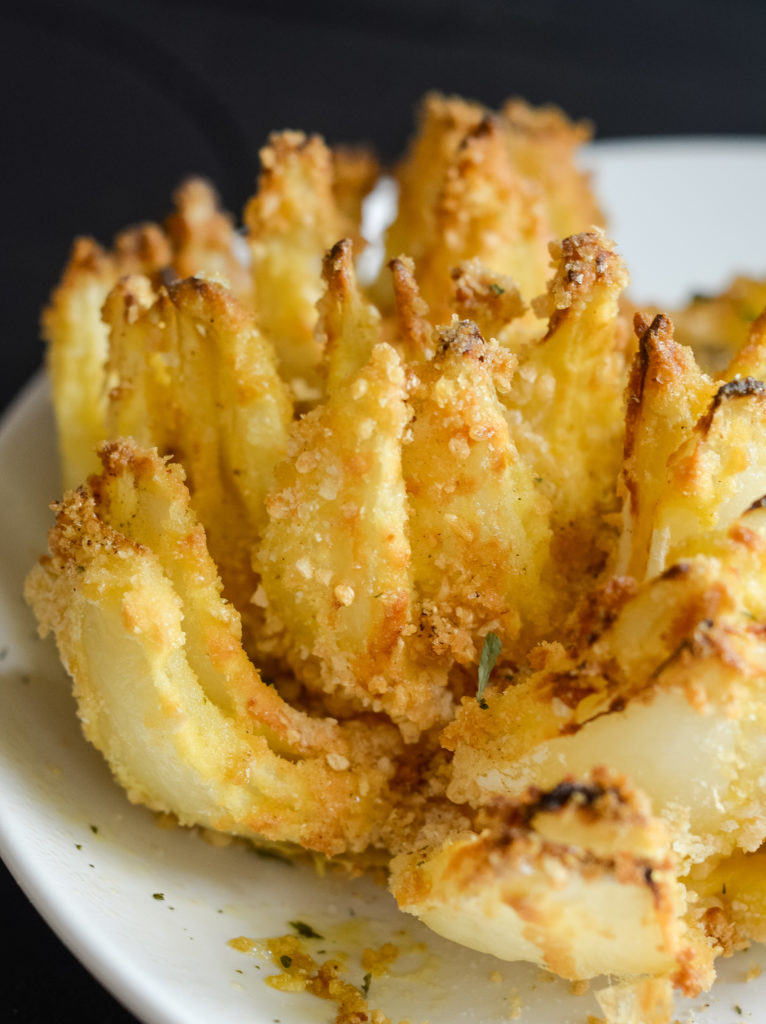
Then, it’s time to make an air fried blooming onion!
Why do you need to soak onion in buttermilk?
It’s best to soak the onion in buttermilk because it sets it up to have the egg and breadcrumbs stick better. It also helps eliminate some of the potent flavors of the onions. It takes them down a few notches.
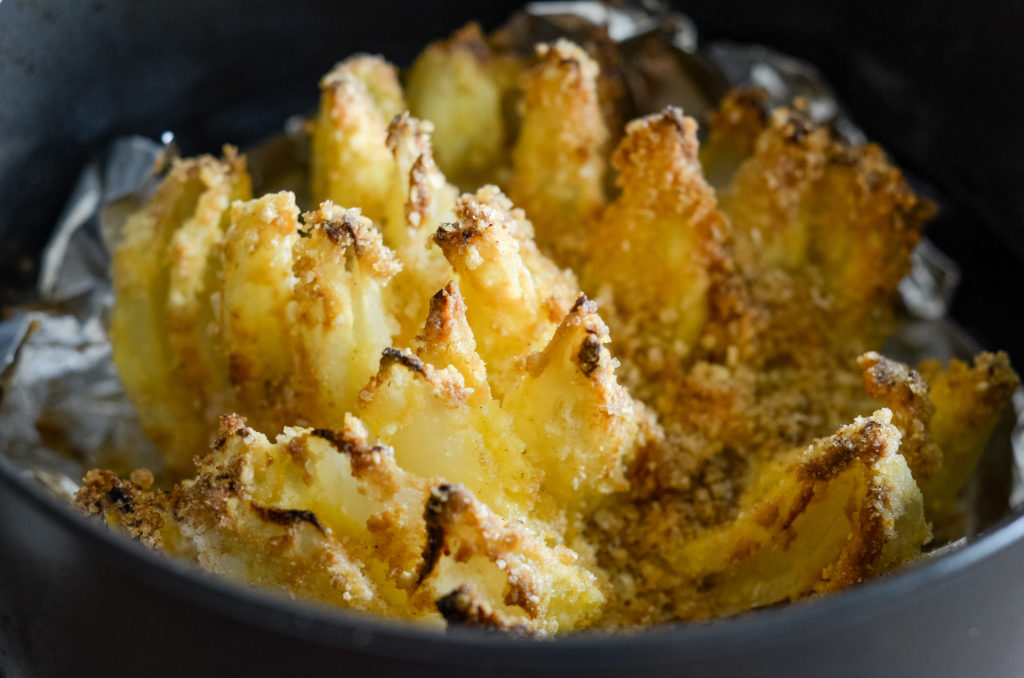
How long do you cook an Air Fried Blooming Onion?
It takes about 15 minutes to cook an air fryer blooming onion at 390 degrees F. I suggest checking it halfway through the cooking time due to all air fryers putting off a different amount of heat.
How do you make a Gluten-Free Air Fried Blooming Onion?
It’s easy to make this air fryer recipe gluten-free with a simple swap of ingredients. I use a gluten-free all-purpose flour such as Better Batter and Gluten-Free Breadcrumbs. That’s it!
Now, are you ready to make the BEST Gluten-Free Air Fried Blooming Onion?
It’s the time!
Be sure to sign up for the Newsletter to get Air Fryer Recipes right in your inbox!
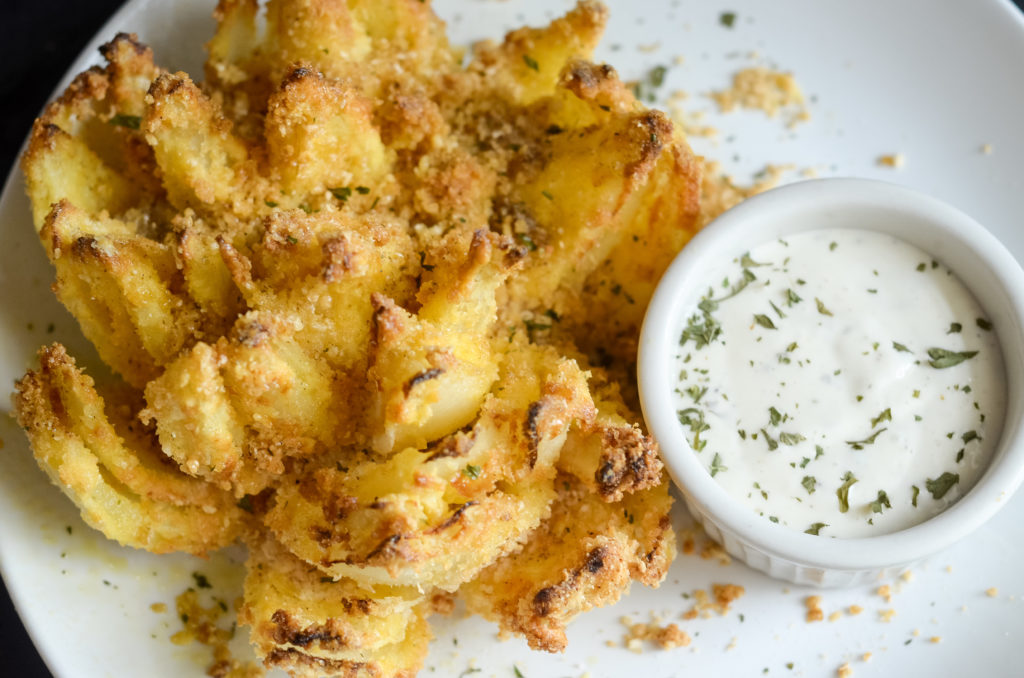
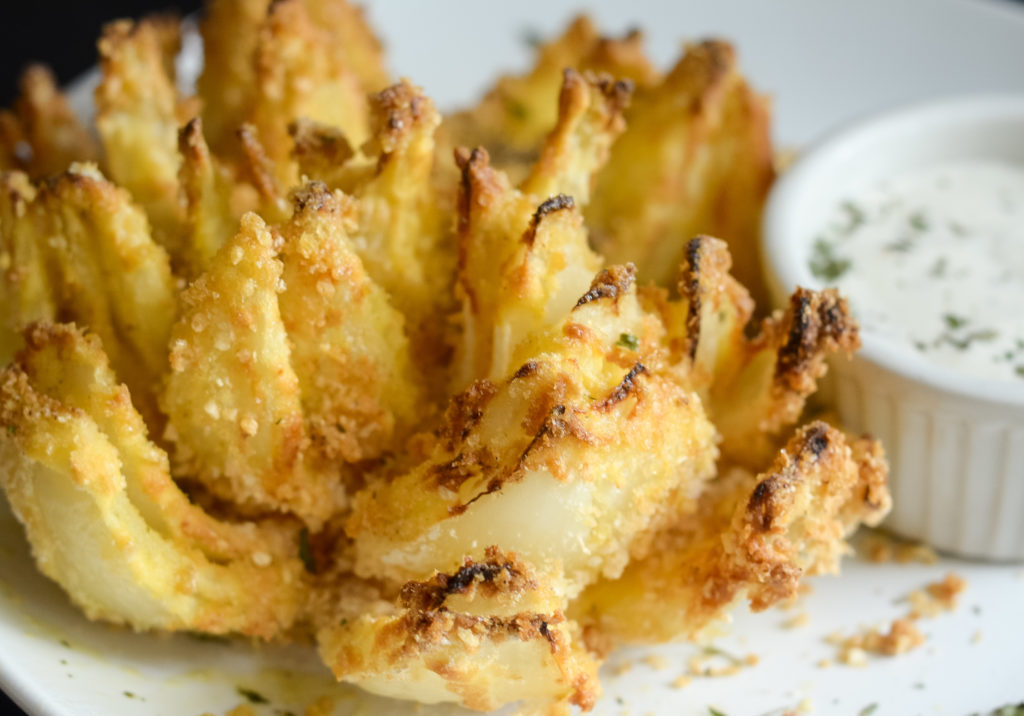
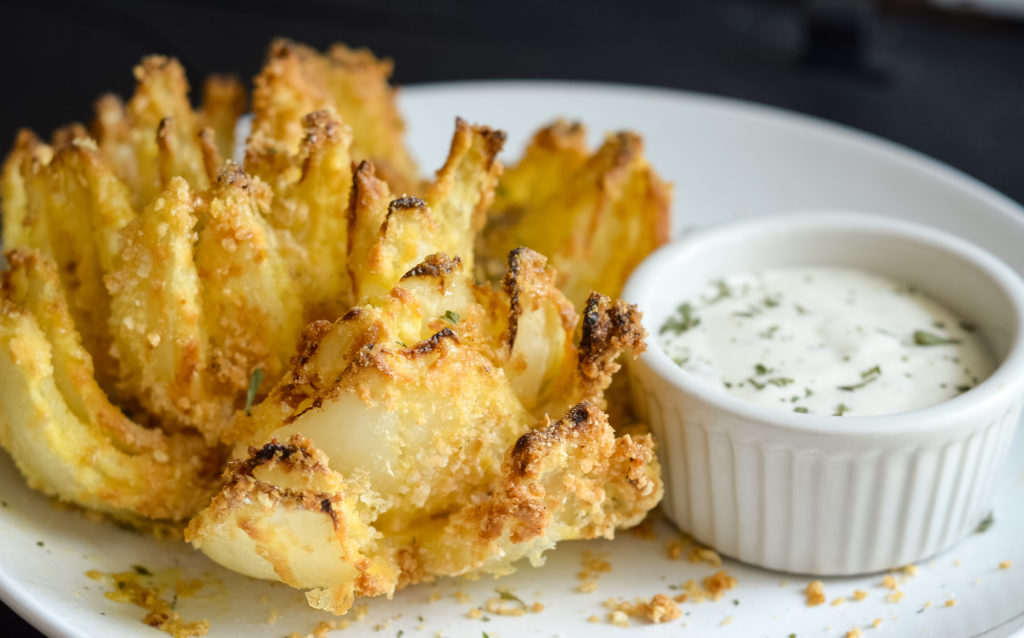
Air Fried Blooming Onion (Gluten-Free)
Ingredients
- 1 Large Sweet Onion
- 1 Cup Buttermilk
- 1-2 Cups Gluten-Free All Purpose Flour or Regular Flour
- 2 Eggs Beaten
- 2 Cups Gluten-Free Breadcrumbs or Regular Bread Crumbs
- 1 Tsp Salt
- 1 Tsp Cajun Seasoning
Instructions
- Begin by peeling the onion.
- Once it’s peeled, trim the side with the root just to make it trimmed and more flat.
- Cut the other side flat.
- Starting at the root, slice it down from the root to the other end, space it out and do the same all the way around the onion.
- Carefully separate each layer.
- Soak the onion for 1-2 hours in the buttermilk.
- Once it’s fully soaked, shake off any excess liquid and then place the onion in the flour, start with 1 cup of flour and add additional as needed. Coat well.
- Once it’s fully coated, use a brush and carefully brush the egg onto the onion being sure to get into each layer.
- Spray a sheet of foil with Olive Oil Spray or Grapeseed Oil Spray, cut the foil to fit into the air fryer rolling it up on the sides so that air can still easily circulate.
- Place the onion carefully on the foil.
- Coat with the breadcrumbs.
- Lastly evenly sprinkle with salt and seasoning.
- At this point, you can do another coat of olive oil spray just to add some extra moisture.
- Cook in the air fryer at 390°F for 15 minutes.
- Carefully remove and serve.
Video
Notes
- Soak in Buttermilk
- Dip in Flour
- Coat with Egg
- Sprinkle on the breadcrumbs and seasoning
- Air Fry
- Eat!
Nutrition

Jeannine meador says
I am slightly confused. Am I reading the recipe incorrectly or is there a misprint…it says TWO cups of flour for ONE onion. That seems extreme and the onion does not appear to be encased in a thick batter. Could you clarify please. Thanks so much…it looks delicious and I want to try it but as I stated am uncertain about the ingredients.
Kristy says
I did use 2 cups – I normally have a bit left but that tends to work well for me; however you can start with 1 cup and add more as needed so there isn’t any wasted. I am going to make that note and adjust here shortly in the recipe card to clarify. Thank you so much for asking and mentioning that.
Jeannine Meador says
Thanks so much Kristy for replying so quickly. I bought Vidalia onions and I am going to be enjoying your recipe tonight!!! Or maybe this afternoon. Or now? Is it too early in the day for a blooming onion? Nah. Enjoy. Life is short. Have a great day and thanks so much for your great site…love getting new recipes to try.
Jennifer Wise says
No way. This is such a cool recipe. I’m so excited to try it! Pinning, too. 🙂
#graceathomelinkup
Jenny says
What a pretty onion. This looks amazing! I might need to get an air fryer- this would be great to have. Thanks for sharing at Merry Monday!
MT says
I didn’t love this. I didn’t find that the buttermilk really did anything. I found pockets of too much flour inside and the onion was cooked but not easy to pull apart after cooking. I liked the flavor though so I’d experiment with it more. I had a lot of flour left over and I used a full egg and used my silicone brush to push it in between the onion folds. I think lower heat and longer time might be key for me. I don’t have an air fryer like a toaster oven and it cooks hot.
Donna @ Modern on Monticello says
YUM! This looks so amazingly delicious! Thank you for sharing your recipe this week with us at #HomeMattersParty
Elizabeth Barnett says
I tried this and it was absolutely horrible – I need to try this again with the right kind of onion!!!!!
Anthony says
This was great! Although I had trouble coating the onion in flour and egg wash. I ended up pulling it apart to coat with breadcrumbs and it turned out great.
Pat howlett says
I can’t wait to try this !!! But one thing, what is the recipe for the dip? I need that too! Thank you.
Kristy says
This one I just did ranch dip.
Assistant Village Idiot says
In the illustrated directions on top you don’t mention putting on the flour. I almost missed it. You might also reference that some people don’t put the cajun spice on directly, but put it in a mayonnaise/ketchup dip instead.
I don’t really know how many stars to give because I don’t start cooking for another hour.
Kristy says
Good catch! Added it.
Julie says
These look delicious and so pretty too. Thanks for sharing with us at Handmade Monday 🙂
Jeanne says
Your photos made me hungry!
https://jeanneselep.blogspot.com/2025/07/seashell-decorated-mirror.html
MattK says
The trimming part confused me. This might help? One end of the onion is the root, which grows down into the soul. The other is the stem (that eventually sprout out of the ground).