
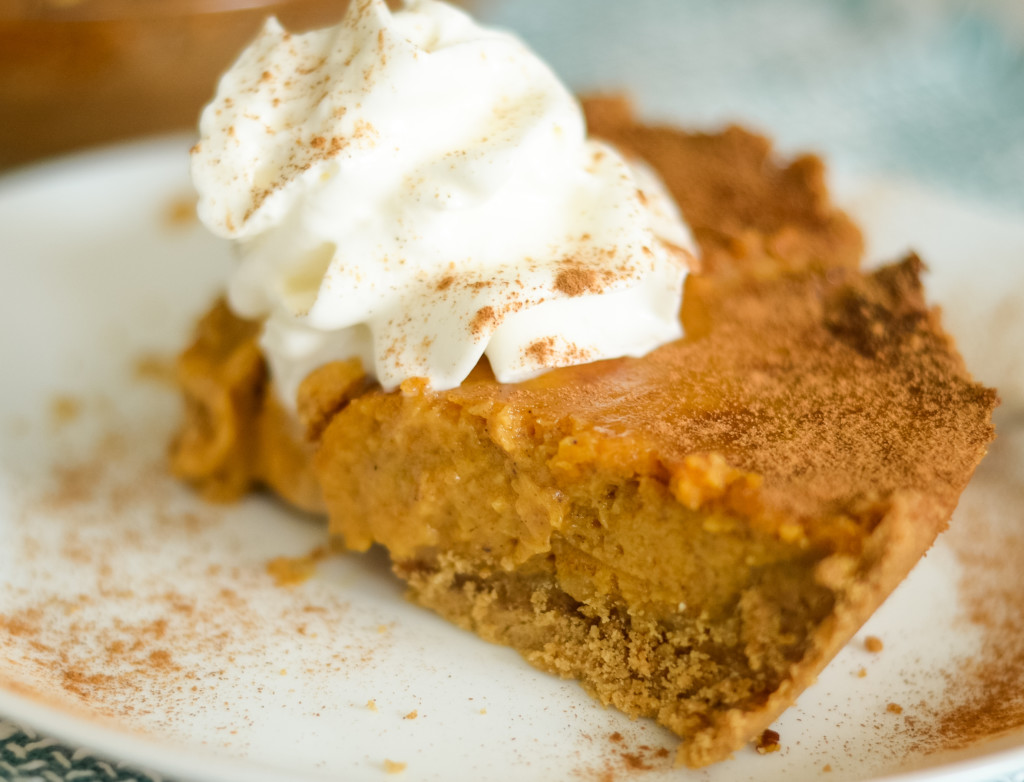
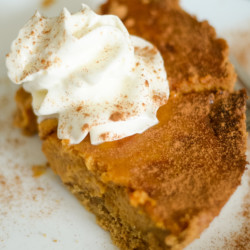
Air Fryer Pumpkin Pie has all the cozy flavors you look forward to each holiday season, but it’s made without the oven, by using the Air Fryer or Ninja Foodi Air Fryer. This recipe comes together quickly and is perfect to serve for your holiday dinner.
Did you know that you can make a pie in the Air Fryer? It’s true, you can! Plus, they come out of the air fryer perfect for a little treat in the afternoon. This Air Fryer Pumpkin Pie is the ideal option as we head into the fall season. This recipe has a smooth filling with a flaky crust; it can even be made gluten-free, too!

What you’ll love about this Air Fryer Recipe:
- Quick to make!
- Great for small gatherings.
- Easy to make gluten-free!
- Creamy and smooth with flaky crust!
Ingredients for Air Fryer Pumpkin Pie:
- 7-inch Oven-Safe Pie Pans
- Crushed Graham Crackers or Gluten-Free Crushed Graham Crackers
- Butter
- Granulated Sugar
- Gluten-Free or Regular All-Purpose Flour
- Pumpkin Pie Spice
- Salt
- Can of Pumpkin Puree
- Eggs
- Evaporated Milk
Step-by-Step Instructions:
- The first step is to be sure you are using a pie pan that fits your air fryer. I used a Ninja Air Fryer and 2 7-inch pie pans, cooking them each individually.
- Begin by preparing the pie shell, mix the crushed graham crackers with the melted butter using a pastry cutter until it is easy to work with and softened.
- Place this into the pie pans to create the shell, packing it into the pie pan to create the crust.
- Once done, set the pie pans aside and make the filling.
- In a medium-sized bowl, add the sugar, flour, pumpkin pie spice, and salt.
- Whisk in the pumpkin puree, eggs, and milk.
- Once well combined, pour half into each of the pie pans.
- If you are using a basket of an air fryer, you can use a sling (see post and notes), or you can make a foil sling (see post and notes) to make your pies easy to lift out. If you are using a Ninja Foodi Multi-Cooker, you can make this using your wire trivet that comes with the Ninja Foodi, set to the lowest position.
- Cook in the Air Fryer or Air Crisp for the Ninja Foodi at 350 degrees F for 20-23 minutes. Check on it at 20 minutes, and if the center is not fully set, let it cook an additional 3 minutes.
- Once done, carefully remove and cool.
- Chill in the fridge until ready to serve.
What pie pan should you use for Air Fryer Pumpkin Pie?
I made this recipe using 2 – 7-inch glass pie pans. This was the perfect size for my air fryer. The key is to use one that will fit in your air fryer. This could be anywhere from about an 8-inch pie pan to a 6-inch pie pan.
Be sure to use one that is safe for the air fryer and can handle high heat, such as a glass or ceramic pan. It’s important to check this before placing the pan into the air fryer.
Tips for Making Air Fryer Pumpkin Pie:
The trickiest part of making this pumpkin pie is getting it in and out of the air fryer.
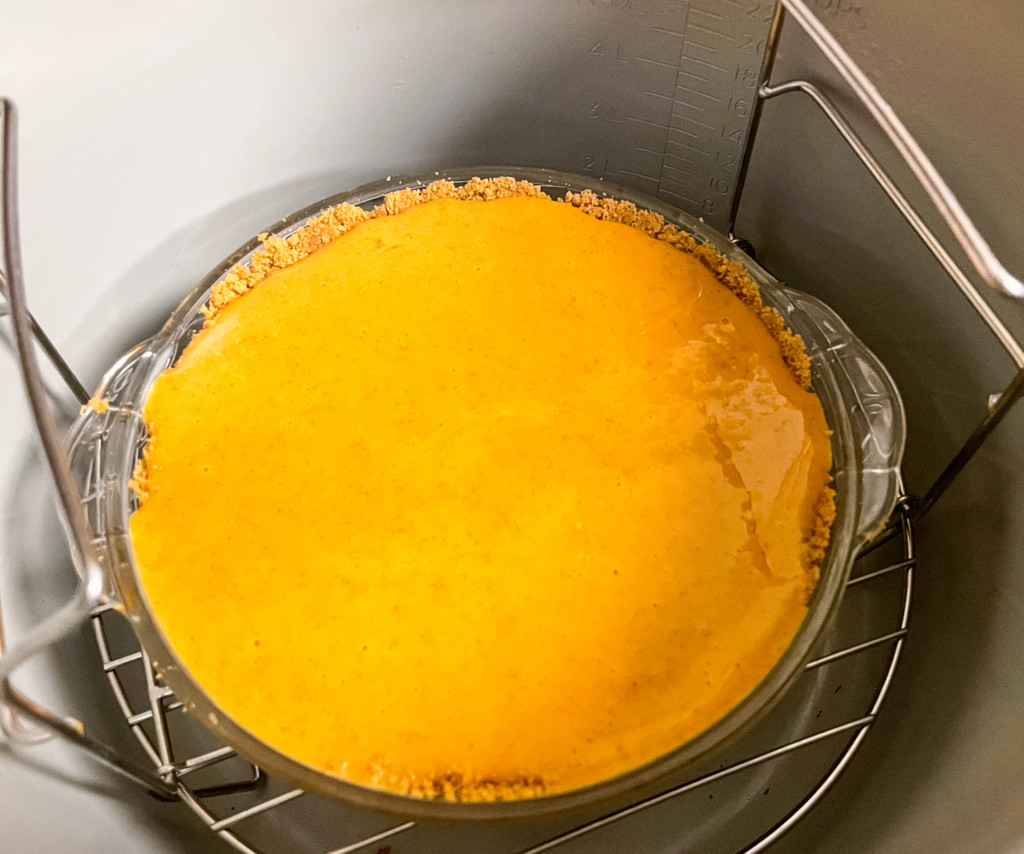
If you are using a Ninja Foodi Multi-Cooker, then use the wire trivet and set it to the lowest position. This will allow you to easily pull the wire trivet out of the pot of the Ninja Foodi using the mitts.
If you are using a traditional air fryer, it’s best to make an aluminum foil sling that goes under your pan to give you handles to pull it out with.
Check out this link on making an aluminum foil sling.
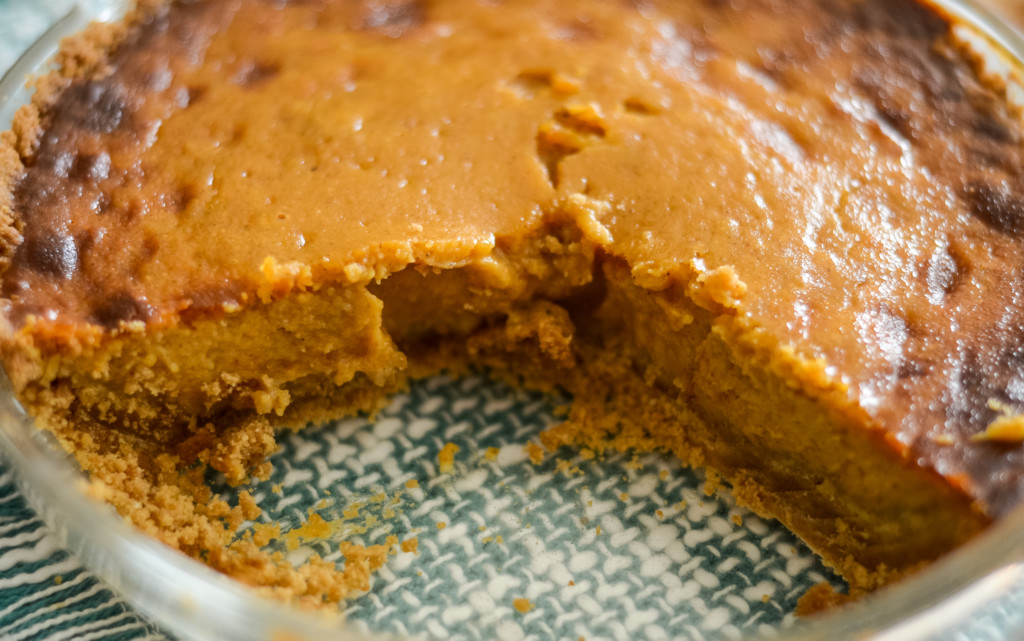
Due to the nature of air fryers and their heating, the time will vary. This took about 22 minutes at 350 degrees F for ours to fully cook and set in the middle.
I would suggest checking in on it after about 18-20 minutes, then adding 3-5 minutes if the center is not quite set yet.
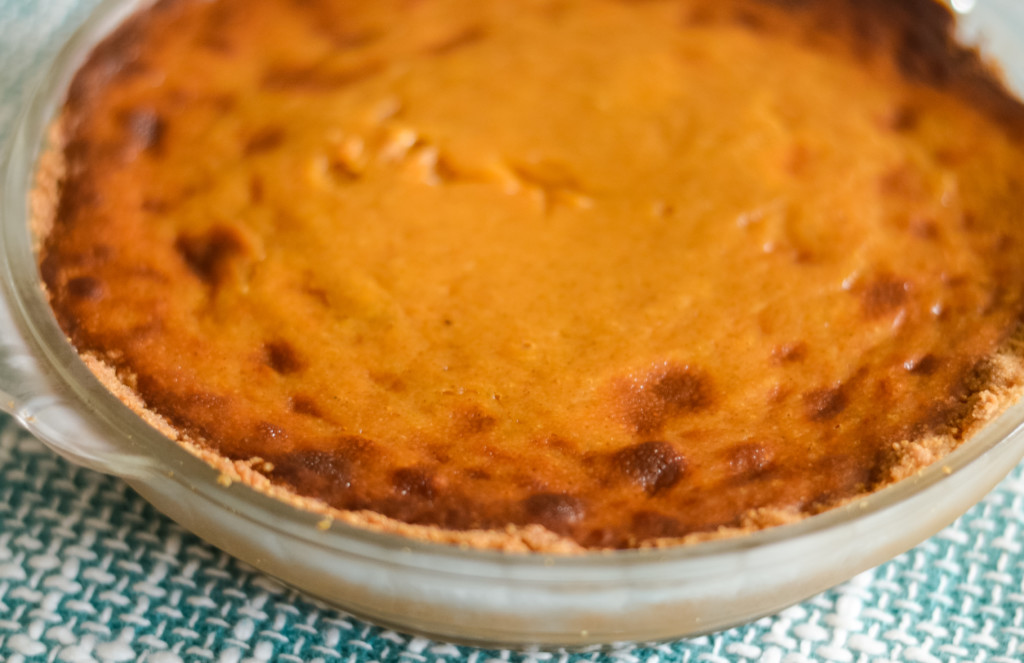
Once it’s fully cooked, carefully remove it and let it cool on the counter before placing it in the fridge to chill.
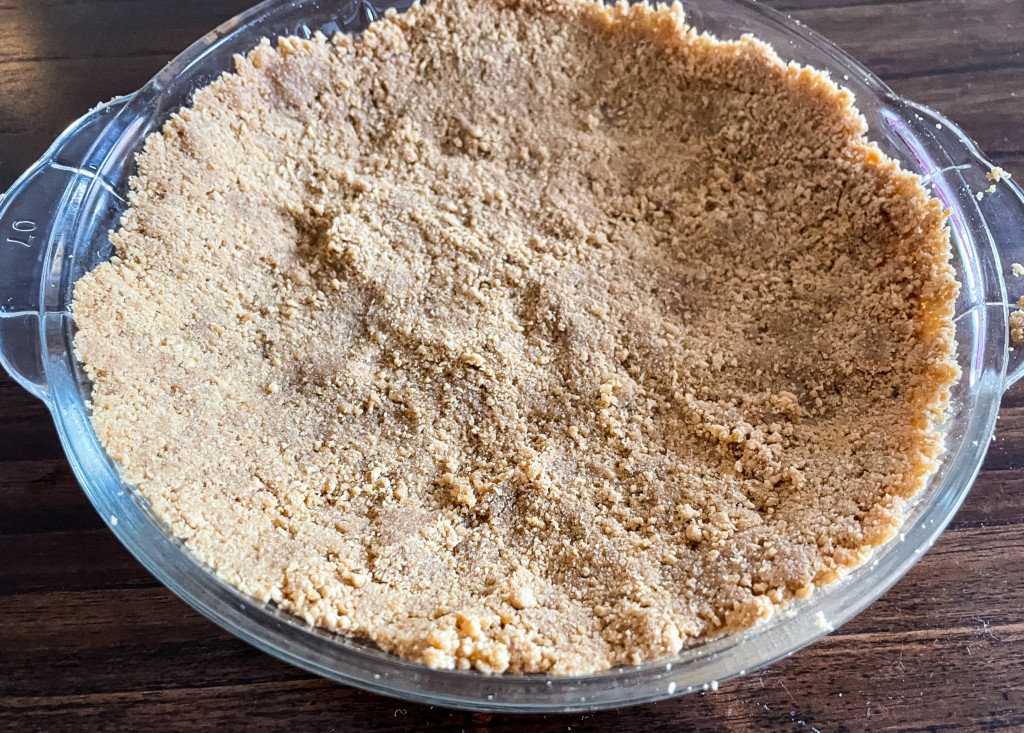
To make the pie crust, I used gluten-free graham crackers and crushed them; this will be mixed with butter to make a solid crust. The full instructions will be in the recipe card below.
This recipe also features this Homemade Pumpkin Pie Spice.
Can you make this in the Ninja Foodi?
This recipe can be made as Ninja Foodi Pumpkin Pie; the instructions remain the same; however, you will need to use the “Air Crisp” Function of your Ninja Foodi.
I did this in both the Ninja Air Fryer and the Ninja Foodi Multi-Cooker with the same result.
How do you store leftover pumpkin pie?
Once fully cooled, store in the refrigerator for up to 4 days. Serve chilled with your favorite whipped toppings.
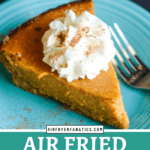
Air Fryer Pumpkin Pie is the perfect choice for a dessert this holiday season. It’s even better when you can whip it up in minutes in your air fryer or Ninja Foodi!
Air Fryer Pumpkin Pie (Ninja Foodi)
Ingredients
- 2 7- inch Oven-Safe Pie Pans
- 2 Cups Crushed Graham Crackers or Gluten-Free Crushed Graham Crackers
- 5 Tbsp Butter Melted
- 1 Cup Granulated Sugar
- 1 Tbsp Gluten-Free or Regular All-Purpose Flour
- 1 1/2 Tsp Pumpkin Pie Spice
- 1/2 Tsp Salt
- 17 oz Can of Pumpkin Puree Canned Pumpkin
- 2 Eggs Beaten
- 12 oz Can of Evaporated Milk
Instructions
- The first step is to be sure you are using a pie pan that fits your air fryer, I used a Ninja Air Fryer and 2 7-inch pie pans, cooking them each individually.
- Begin by preparing the pie shell, mix the crushed graham crackers with the melted butter using a pastry cutter until it is easy to work with and softened.
- Place this into the pie pans to create the shell, packing it into the pie pan to create the crust.
- Once done, set the pie pans aside and make the filling.
- In a medium-sized bowl, add the sugar, flour, pumpkin pie spice, and salt.
- Whisk in the pumpkin puree, eggs, and milk.
- Once well combined, pour half into each of the pie pans.
- If you are using a basket of an air fryer, you can use a sling (see post and notes) or you can make a foil sling (see post and notes) to make your pies easy to lift out. If you are using a Ninja Foodi Multi-Cooker, you can make this using your wire trivet that comes with the Ninja Foodi, set to the lowest position.
- Cook in the Air Fryer or Air Crisp for the Ninja Foodi at 350°F for 20-23 minutes. Check on it at 20 minutes and if the center is not fully set let it cook an additional 3 minutes.
- Once done, carefully remove and cool.
- Chill in the fridge until ready to serve.
Notes
Nutrition


Leave a Reply